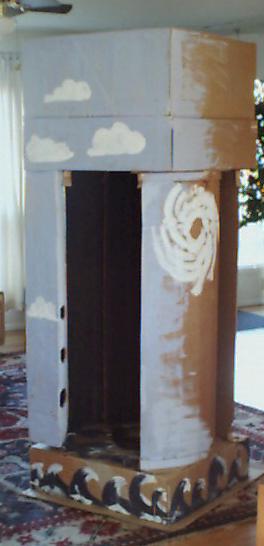
| This is the final product. It is constructed out of corrugated
cardboard, string, white glue and paper tape (brown paper tape is the only
tape that I know that takes tempera paint).
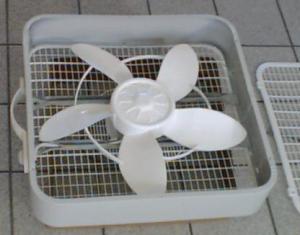
The non-cardboard components are a box fan (one of those 20x20" window
fans, I payed $8 for mine), a set of lights
(I got a pair of under-cabinet halogen lights for $20). On the bottom
you can see a 9" pie pan, for the dry ice ($1/pound) and warm water.
I found the best place to get large pieces of good quality corrugated
cardboard is one of our local mattress
stores. Sometimes the cardboard is white instead of brown.
The fan sucks air up through a hole. The top box is somewhat airtight,
and some of the air is circulater down through the tube in the front
left, and exits through the holes you see.
|
|
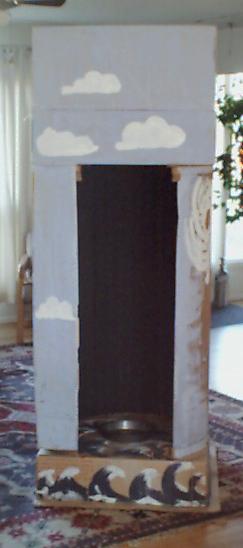
| The base is a box (27x27x7"). This supports curved walls, 48' tall. On top
of the walls is another box which is the mirror image of the base, and on top
of that is another box, a little bit taller.
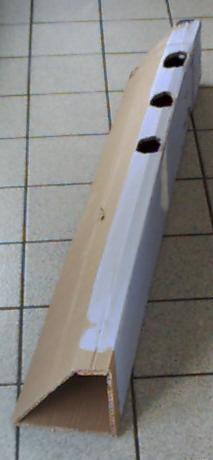
On the front left, running from top to bottom is a (mostly) triangular tube, with three holes in it (holes visible in the
previous picture). This tube slips into a matching hole in the top box.
In the following pictures, I'll disassemble the whole thing. After disassembly, everything stores flat.
|
|
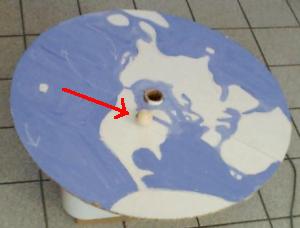
| First the tube slips out of the top box. This tube is closed
at the other end, and it serves to let air flow out of the top box
down and out the three holes, which sets up the air's rotation. When
I first made built the thing, I did not have this tube, thinking that
a little initial rotation, reinforced by the flow through the gaps in
the curved wall pieces, would be enough to start the tornado. This was
not the case, so I added this tube.
|
|
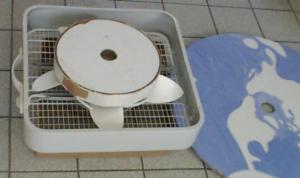
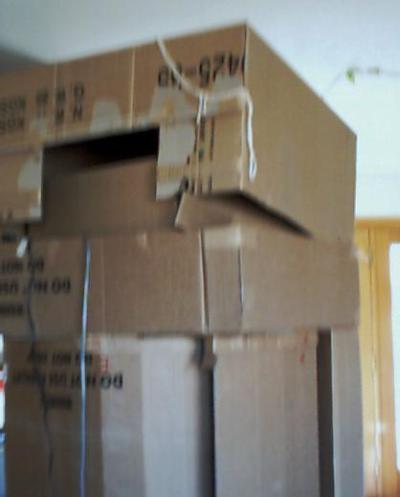
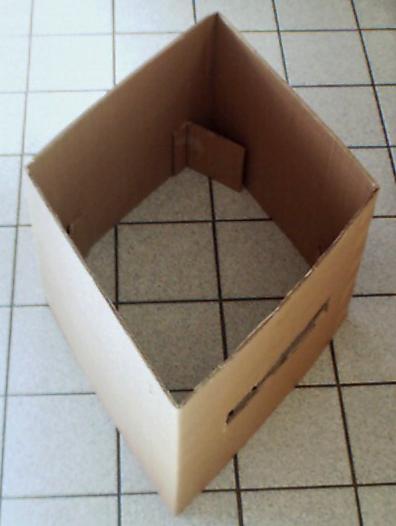
| Next I lift off the top box. This is a view from the back. I tipped
the box up so you can see the fan holder inside. Also notice that when
the box is lowered into place, there is still an opening in the back through
which you can reach the fan switch if necessary.
| 
|
| This is the top. More about the strings later.
|
|
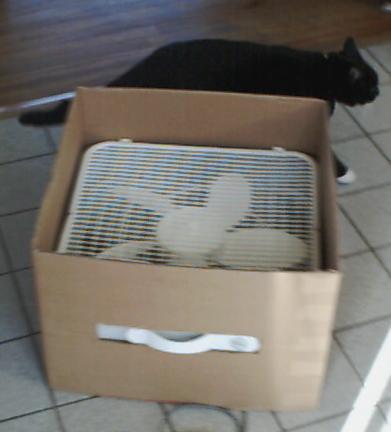
| Next I lift the fan holder out of the top. The cat is optional.
|
|
| This is an open box, 14" tall, and a hair larger than the fan,
with pieces in the corner to support the fan. The corner pieces are
glued on one side only, so that the thing folds flat.
| 
|
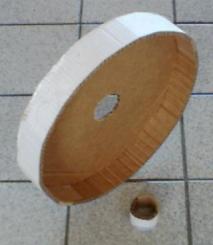
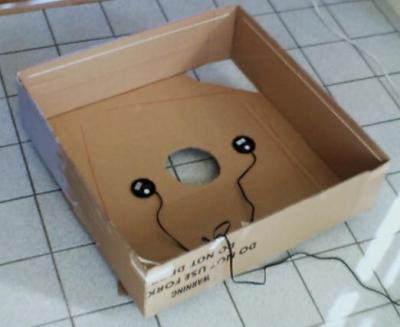
| Next off is the box that sits on top of the walls. You can see
the triangular hole that accepts the air tube we saw above. In the center
is the hole that the air gets sucked into. The next time I made this, I
cuth the hole bigger (6" as opposed to 4" here), and made a sliding
baffle so that I could change the opening from 6" diameter down to zero.
Also visible are the two halogen lights. I found that the casings to the
lights hardly get warm at all, so they are are just friction-fit into
carefully cut holes.
|
|
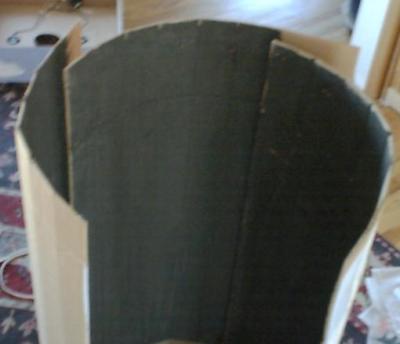
| Here you see the three pieces that make up the walls. There are
gaps so that air sucked in contributes to the rotation. I painted the
walls black on the inside (with tempera paint - cheap). I'm not sure
that the gaps matter. In a later version I made just two sections, and
it worked fine. Next time I'll make a single curved wall, no gaps
| 
|
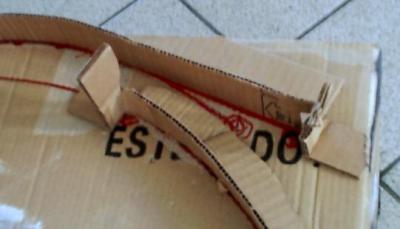
| The curved walls are held in place by these strips that are glued
to the top and bottom boxes. At each end of each strip is a stop, so you
can just place the curved walls inside these stips with stops and they
will stay in place.
| 
|
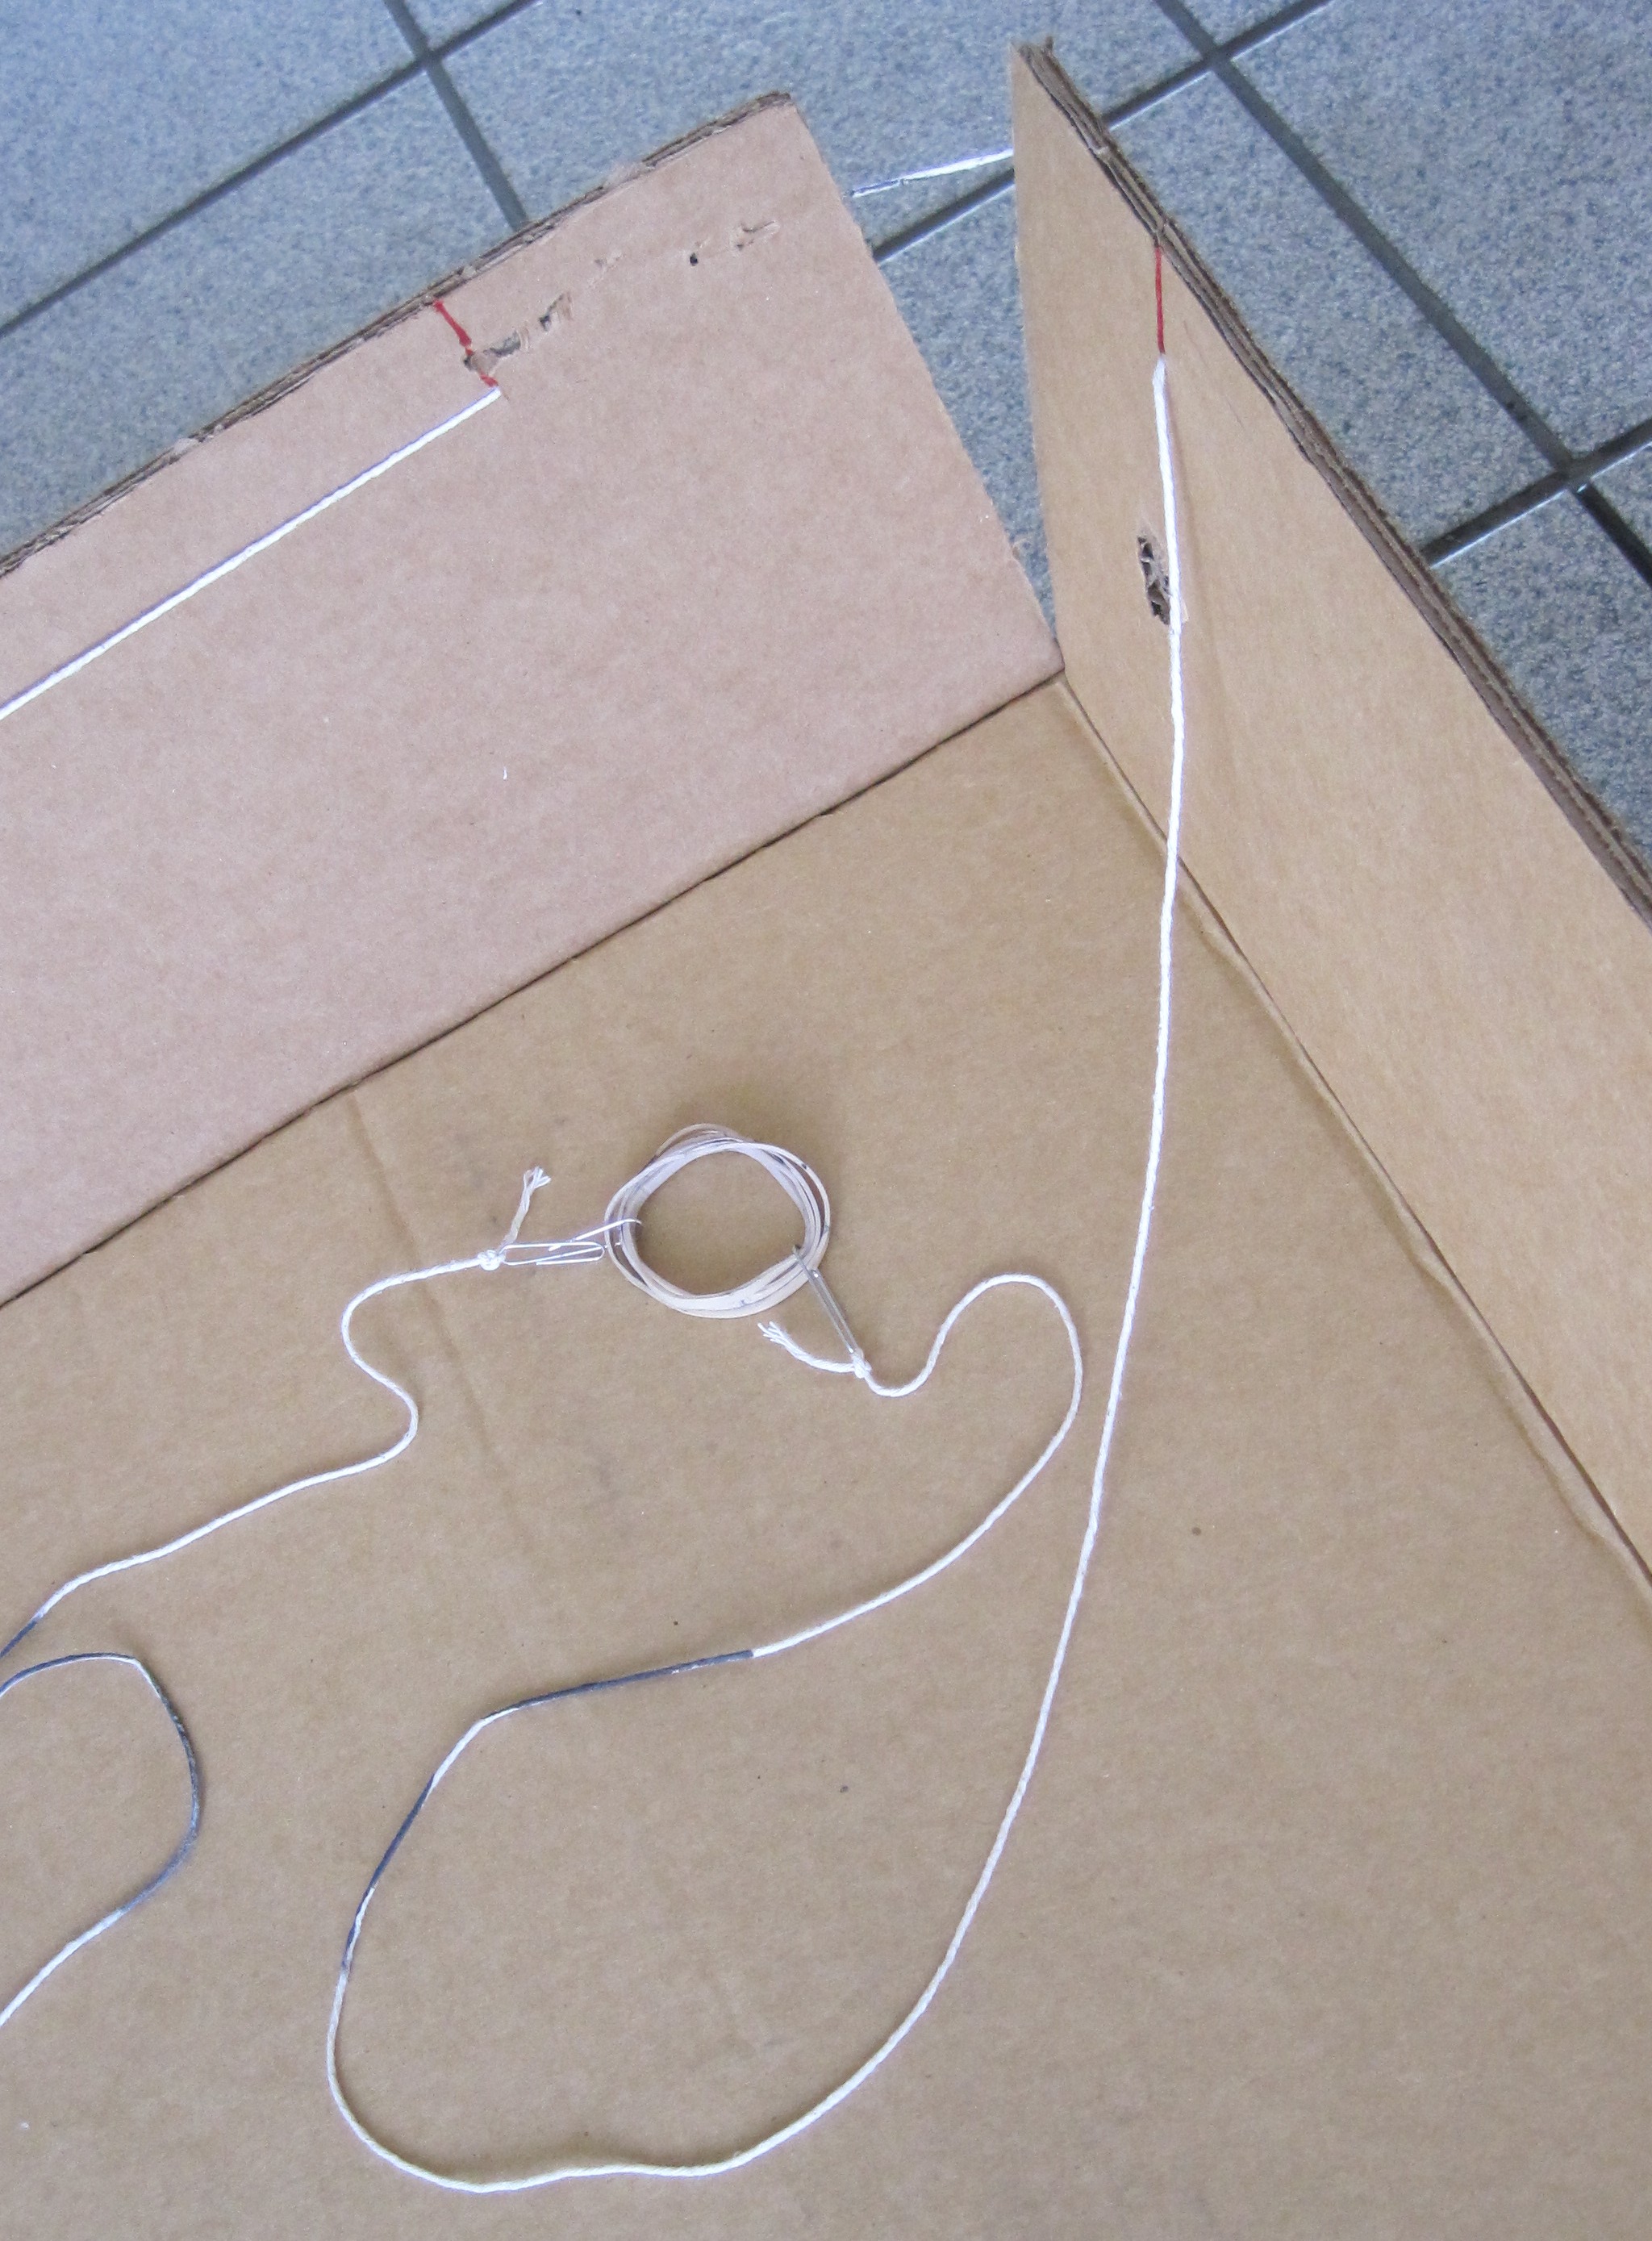
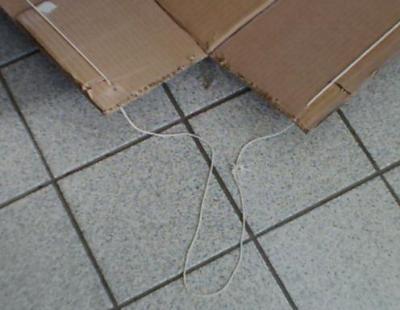
The boxes are held in shape by tightening the string. The string
runs through cuts or holes near the corners, and goes all the way around.
In this version I just pull the string tight and put a slipknot in it.
In a later version, I made a loop out of string - paperclip - rubber bands
- paperclip - other end of the string. Much easier.
 ← Bigger ← Bigger
| 
|
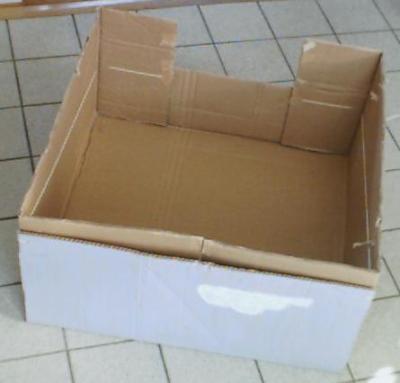
| Without the string tight, the box stores flat.
After almost 15 years of use, the cardboard suffered quite a bit, so I
rebuilt the thing in 2019. By now I use LED lights instead of halogens.
| 
|
| When I buy a block of dry ice, I improve the insulation of my
cooler by inserting pieces of 2" foam insulation. That way I can buy
the dry ice the day before. This matters when you have to start the
show at 8AM when school begins.
| 
|


 ← Bigger


